CHELLE-CHELLE.COM          MICHELLE  |  ARTICLES  |  CROCHET  |  JEWELLERY  |  KNITTING  |  HOME

Adventures with fulling

Written on April 6, 2010 at 3:48 pm
Filed under: Crafting with tags: , , ,

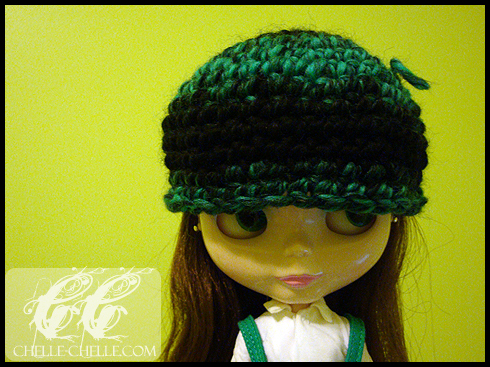
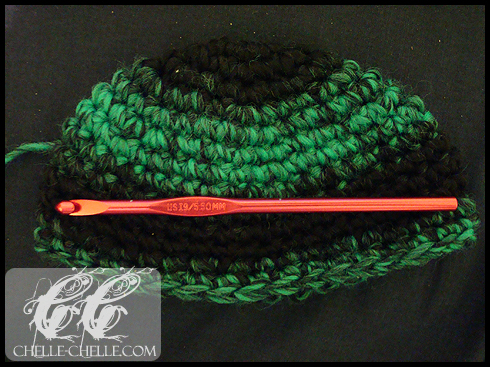
My first adventures with fulling (or better known as felting, even if it’s technically not the proper term)!

The yarn I used was Nashua Wooly Stripes. This yarn is 100% wool worsted weight and the colour is WS14 Blackened Jade. I used a 5.50mm hook (US I9) for this project and the pattern was one of my own (i.e. I made it up as I went along).

Before fulling:

Read the rest of this entry »

Cream & Berries Birthday Cowl

Written on April 2, 2010 at 1:38 pm
Filed under: Family,Knitting with tags: , , , ,

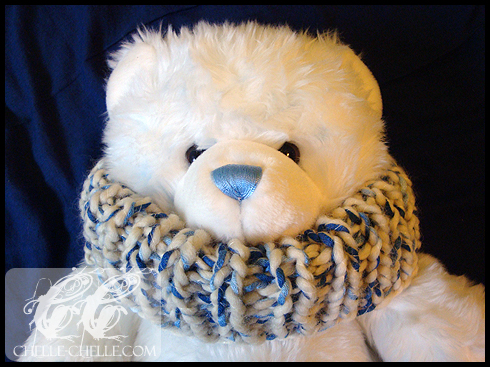
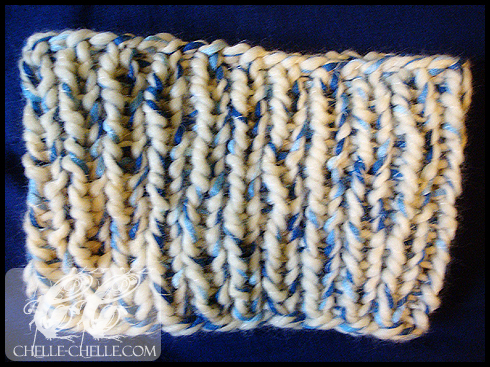
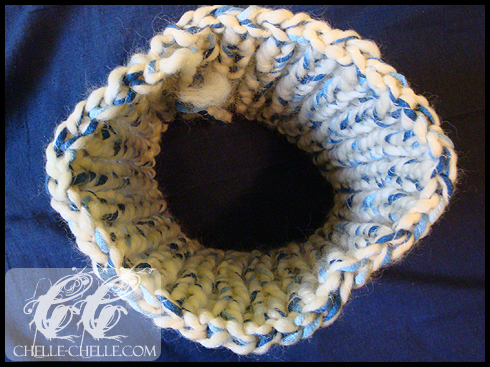
So this is the Cream & Berries Birthday Cowl. I didn’t use a pattern for this one, made it up when I started it as I was trying to figure out what to do. This was made for my mom and I used Rowan Ribbon Twist (super bulky weight yarn) on 8mm circular knitting needles (80cm length). This is my first finished project on circulars!

What I liked about making this was that it was relatively quick (I started and finished it yesterday). But what I didn’t like about it was that I was actually trying to make it into a moebius (and therefore trying to twist the stitches at the very beginning), but I couldn’t get them to twist. Overall, it was a nice first project done on circulars. Not too difficult to do and I liked doing a 1×1 ribbing all throughout, it shows up quite nicely in the bulky yarn and the ribbon adds a nice accent to everything (especially since the ribbon is variegated throughout).

Modeled by Elijah

First adventures of knitting in the round

Written on April 2, 2010 at 1:20 pm
Filed under: Knitting with tags: ,

Knitting in the round (with both circular knitting needles and double pointed needles [DPNs]) is something that I’ve recently (sort of) mastered. I lamented about my inability to ‘get’ the whole circular knitting thing and a Twitter/Flickr friend (irulethegalaxy) helped me out by explaining the basics to me (and was a lot more patient than my sister ever was when explaining it to me!).

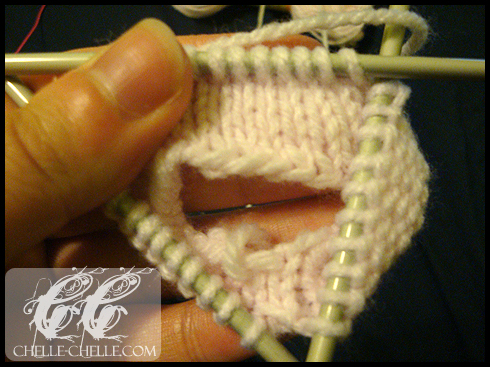
My first attempt at knitting in the round was done with double pointed needles. I found it difficult at the beginning because after spreading out my stitches onto three needles, I was left with 6 different pointed ends constantly poking into my fingers or the palms of my hands. But eventually, I did “get” it and ended up with a short, stubby little tube.

My tension was off, there were little visible ‘ladders’ so I could see exactly where the stitches changed from each needle, but it was okay, because I could knit with DPNs!

For my second attempt at knitting the round, I grabbed a pair of circular knitting needles (8mm) for this lovely ball of super bulky weight yarn. The one thing I love about chunky knits is that it works up relatively quickly because everything’s a lot bigger in width, height and overall thickness.

It’s a lot different with crocheting in joined rounds (joined rounds, unless you’ve got the world’s best tension, results in having a noticeable ‘seam’ where you joined the rounds) but it’s quite similar to crochet in the round (no seam, spirals up), which I’m most familiar with. I’m a lot more comfortable with freestyling my own designs in crochet, so unless there’s no shaping involved, chances are that I’ll be reaching for a crochet hook instead of knitting needles for making amigurumis, but I do love the fact that I know how to knit in the round for both DPNs and circulars!

Blythe Monster Hat – Free Crochet Pattern

Written on March 25, 2010 at 5:21 pm
Filed under: Crafting,Free Pattern with tags: , , , ,

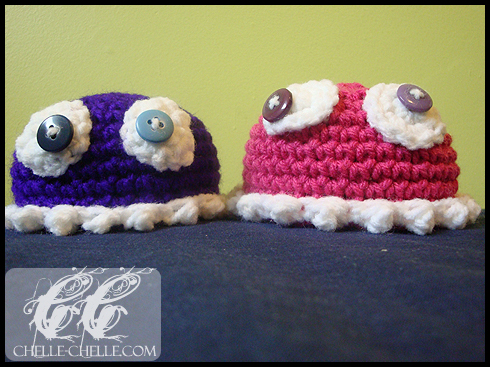
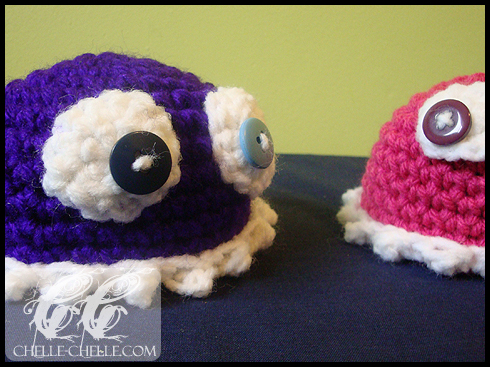
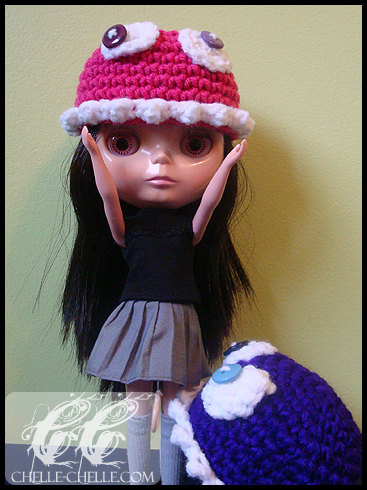
This pattern was inspired by Lisa at q.D.PaToOtieSBlythe Brain Sucking Monster Hat. I saw the image and never saved the pattern and then when I went to find it, I couldn’t! So I came up with my own way of putting together the monster hat (and shortly after I completed my first Blythe Monster Hat, I found the original pattern by Lisa).
Difficult Level: Easy

Size: Fits Blythe dolls (does not fit Petite Blythe).

Materials:
Worsted weight yarn (MC = Main Colour, CC = white)
5.00mm hook (US H/8)
2 buttons (does not need to be matching)
Yarn needle
Stitch markers (optional)

Notes:
For the purple hat, I used Red Heart Super Saver (purple, white) for both colours.
For the pink hat, I used Bernat Super Value (pink) and Red Heart Super Saver (white).
You need to know how to increase with single crochet stitches and how to do the magic ring.

Abbreviations:
sc – single crochet
ss – slip stitch
st – stitch
tr – triple crochet

Pattern Notes:
Number of stitches listed at the end of the row in the parentheses.
Pattern is worked in the round (not joined at the end of each round) – use stitch markers to help with counting.

Directions
Hat (in MC and CC)
Round 1: In MC, crochet 6 sc in a magic ring (6).
Round 2: *2 sc in next st* repeat 6 (12).
Round 3: *sc 1, 2 sc in next st* repeat 6 (18).
Round 4: *sc 2, 2 sc in next st* repeat 6 (24).
Round 5: *sc 3, 2 sc in next st* repeat 6 (30).
Round 6: *sc 4, 2 sc in next st* repeat 6 (36).
Round 7-12: Work even in sc (36).
Round 13: With CC, ss each st around (36).
Round 14: *sc 1, 1 tr* repeat 18 (36).
Fasten off, tuck in ends.

Eyes (in CC) – Make 2
Round 1: In CC, crochet 6 sc in a magic ring (6).
Round 2: *2 sc in next st* repeat 6 (12).
Fasten off, leave long tail for sewing.

Assembly
Attach buttons to eyes prior to attachment to hat. For a fun look, have the buttons looking in opposite directions or have the monster be cross-eyed.
This pattern is an original pattern by Michelle W. (March 2010). Please do not claim this pattern as your own. If you wish to share this pattern, you may link to this pattern but do not sell or otherwise distribute it. Items made from this pattern may not be sold as the pattern is for personal use only. Please contact me via my website http://chelle-chelle.com if you have any questions, comments or concerns.
Amigurumi: Choosing Eyes – Part 1

Written on March 20, 2010 at 5:08 pm
Filed under: Article with tags: ,

They say that eyes are the windows to a person’s soul. But how does that translate for amigurumi? One of the things that I like doing is having an assortment of different eye choices when I’m making a project, just so I can make a decision about what the final look is going to be. I present to you three different eye options: safety eyes, yarn eyes (crocheted/knitted and embroidered) and button eyes. I also include my personal thoughts on them as well as some safety issues you may want to take into consideration.

Safety Eyes

Incredibly popular, safety eyes are most commonly used in commercially produced stuffed animals and can be bought in stores – some general craft stores will carry them, as well as some fabric stores and online websites. Safety eyes have require some assembly – there’s the piece for the eye that has a post and a washer (metal or plastic). What you do is put the post through the piece and then place the washer over the post and push it down the post until it’s all the way down. Safety eyes are very snug and difficult to pull apart. However, a safety concern is that crocheted or knitted fabric can fray or the spaces between the stitches (especially in crochet) can stretch or get larger, allowing the eye (washer and all) to come through, creating a choking hazard for children and pets. One way to remedy this is to use a small piece of felt between the washer and the crocheted/knitted fabric. Safety eyes can be pricey, if you’re purchasing them in pairs, so consider a bulk purchase – this would require you to buy a large amount of eyes in the same size and colour though. So if you’re an occasional amigurumi creator, you might want to consider other eye options as this would be an expensive option for you.

Safety Factor: relatively child-safe (can be reinforced, if assembled correctly)
Cost Factor: most expensive

Read the rest of this entry »

« Previous PageNext Page »